What is a private cloud?
A private cloud, also known as a corporate or an internal cloud, is defined as a cloud environment solely dedicated to a single customer/entity with complete isolated access. A private cloud combines all the advantages of a public cloud, including scalability, elasticity, and ease of service delivery.
Why do companies use a private cloud?
To answer this question, let's first define what a cloud is and what makes it unique. A cloud is simply a virtualized network and data center whose uniqueness relies on its agility and scalability.
Companies choose private cloud for performance. A $130 NVMe Seagate Firecuda drive will give you more than 600,000 IOPS, while the most you can get from a cloud provider like AWS is 256,000 IOPS with io2 Block Express volumes, at a very high price. Others choose private cloud for regulatory compliance requirements. In addition, a private cloud delivers a higher level of security and control over sensitive data.
Step To Build a Single-node OpenStack Cloud.
A single node means that you only need one physical machine, and all services will be on that single node. Other deployments options are Multi-node, which requires at least two physical machines, and Large-Scale, which requires six physical machines.
Single-node requirements:
- A multi-core processor.
- At least 8 GB of memory/RAM.
- At least 100 GB of disk space/Hard drive.
- Virtual Machine: Ubuntu 18.04 LTS or Ubuntu 20.04 LTS.
Let's first configure the virtual machine that will host our cloud-based on the requirements. I used Ubuntu 20.04 LTS as my virtual machine. I gave it 12 GB of RAM, four vCPUs, and 150 GB of a hard disk.
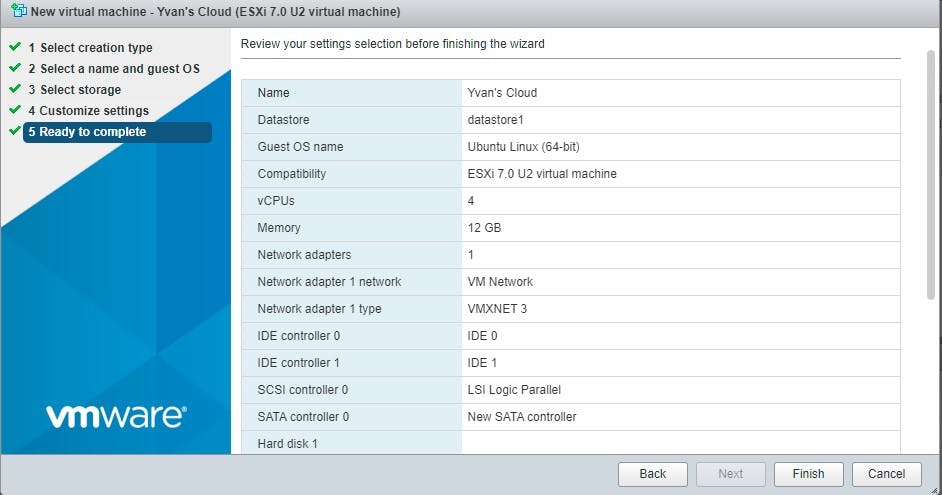
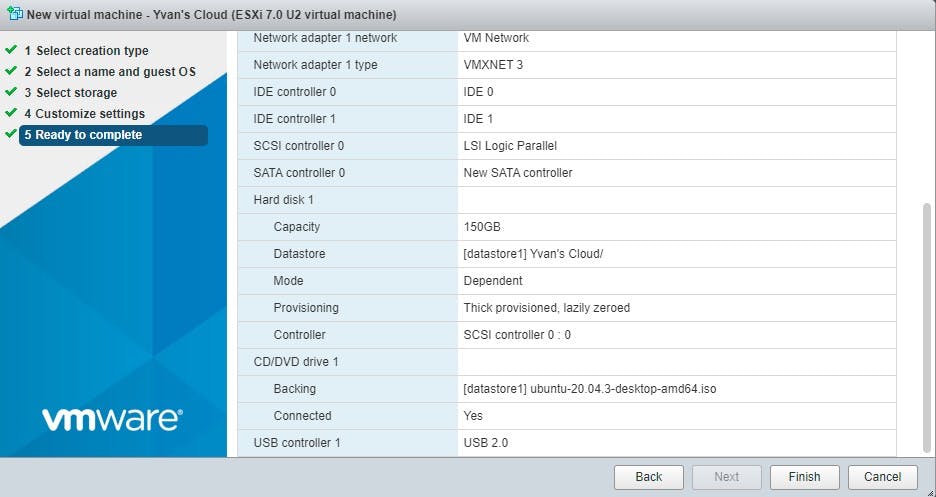
The installation of my virtual machine took approximately 5 minutes. Now, my virtual machine is fully installed and good to go.
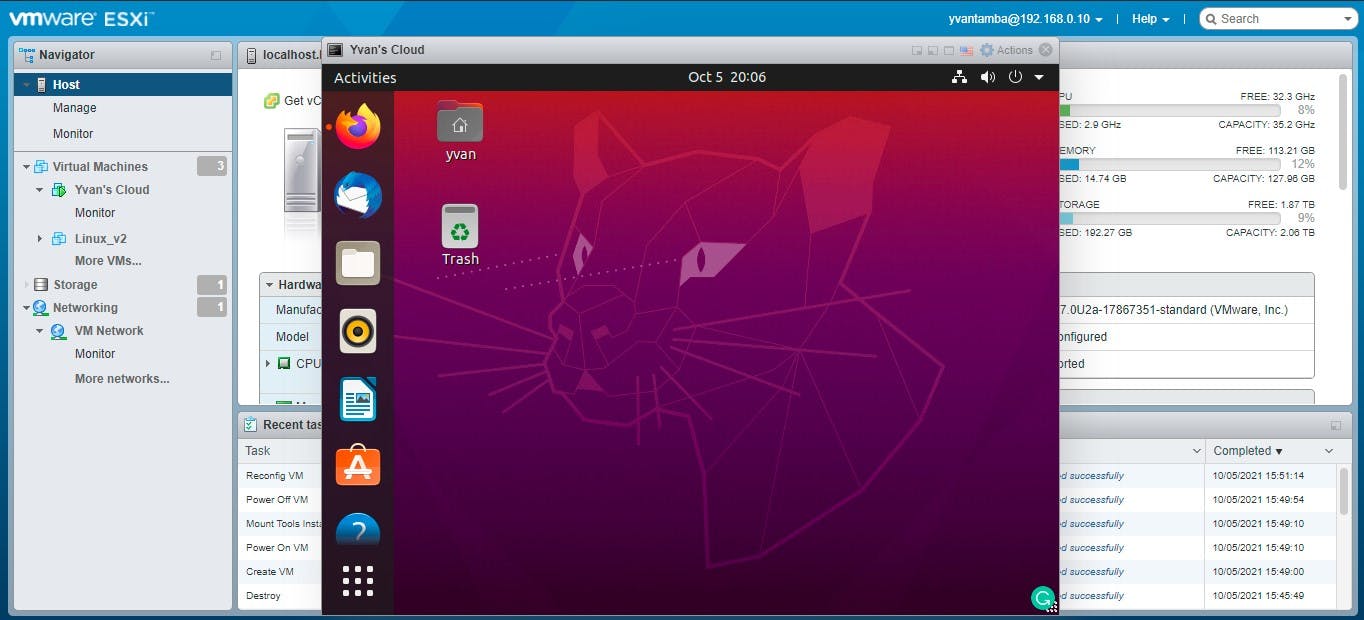
Before doing anything in my virtual machine terminal, I have to downloads all the package lists from the repositories and updates them to get the newest versions.

Now that my system is up to date, I can start to install OpenStack. To start, I use devmode and the beta channel. OpenStack has designed MicroStack for small-scale and edge deployments.

A green check in front of canonical will be a confirmation of a successful installation of Microstack.

The next step is the initialization one. It will automatically deploy, configure, and starts OpenStack services by creating a database, networks, an image, several flavors, ICMP/SSH security groups, and an SSH keypair.

Now, we should have our OpenStack fully installed. I ran some verification steps to confirm the installation. I started by listing the default image. Here we can see the name of the default image, its ID, and active status.

I listed the default list of flavors available in my private cloud. That gave me insight into what tools in terms of virtual machines I have at my disposal.
I have five virtual machines in my private cloud with memory varying from 512 to 16384 RAM and processors ranging from 1 to 8 vCPUs.

To create an instance from the command line, I used the built-in command from microstack. By default, it creates an instance with 'microstack' as a key pair, 'm1.tiny' as a flavor and a floating IP address on subnet '10.20.20.0/24.
The instance is the test to ensure proper successful deployment. In the snippet below, 'test' is the name of the instance of image type 'cirros.' The IP address is dynamically allocated to my instance during launch operation. An access path is also directly provided to ssh into my instance.

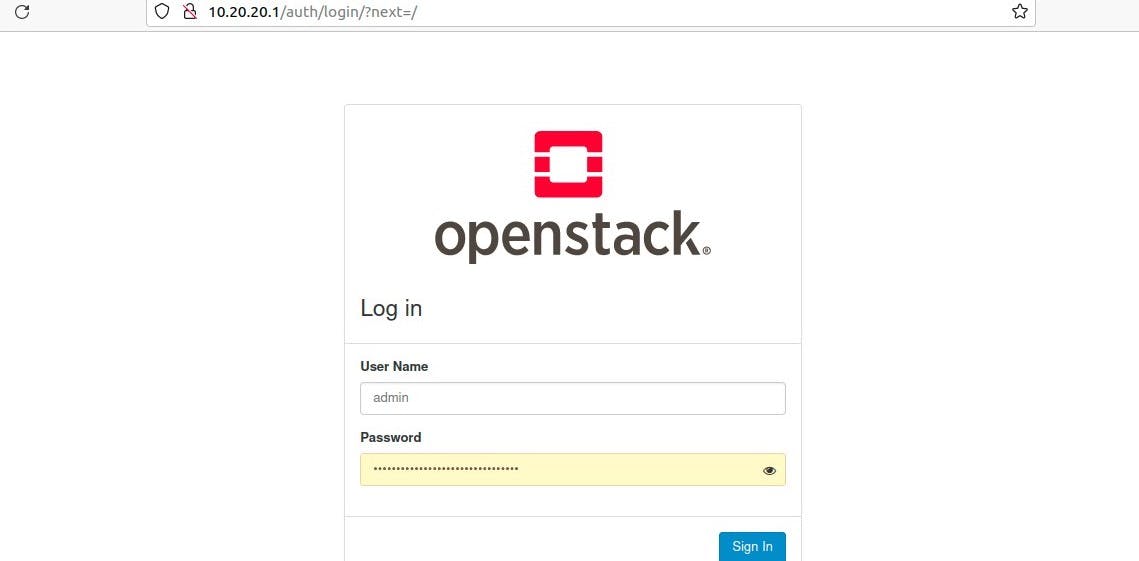
Let's access our private cloud through a dashboard. I used the following URL http://10.20.20.1:80 in my web browser to access OpenStack. Before that, I had to generate my password from the terminal using the command below. The default username is 'admin.'

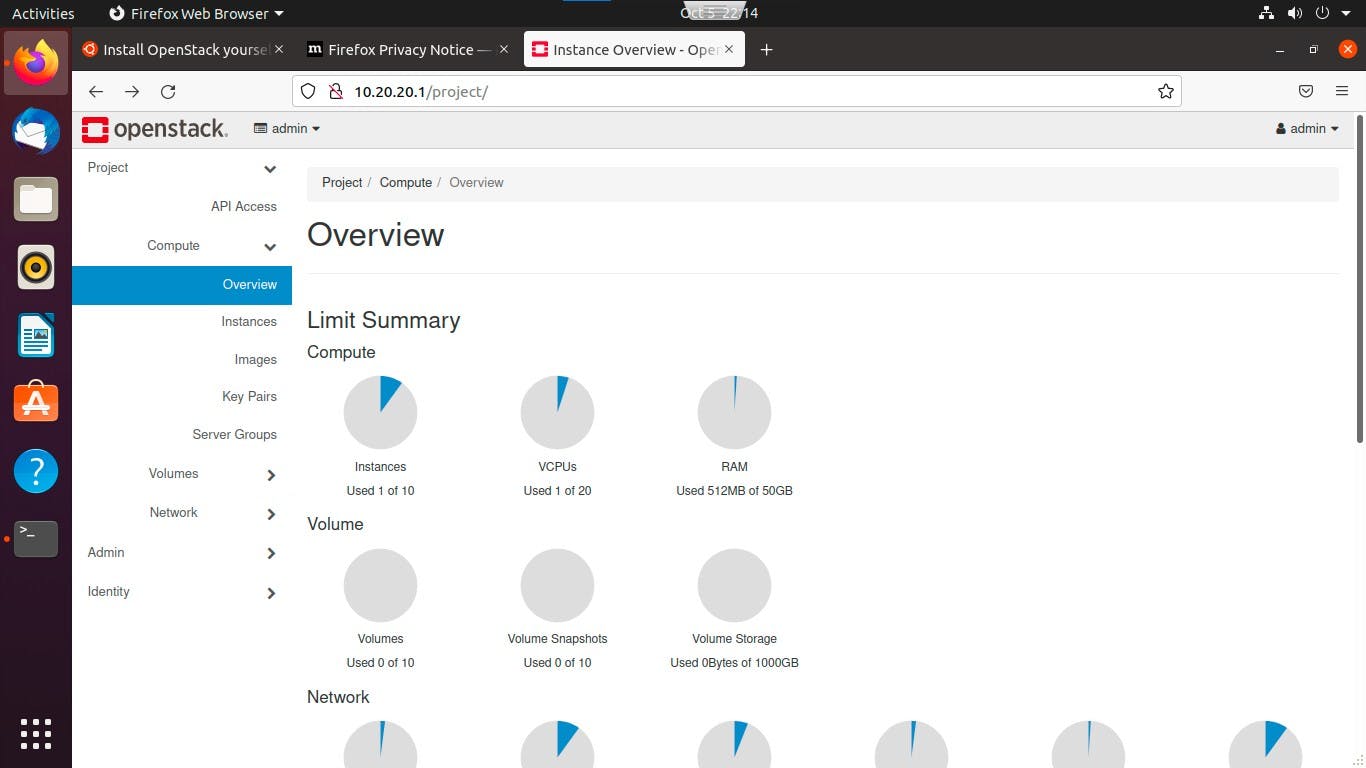
I am inside my cloud dashboard and have an overview of what's is going on. From the first three circles, under compute, I can see that one instance with a 512 MB of memory and one vCPUs is used. That is probably the 'test' instance that I created early from the terminal.
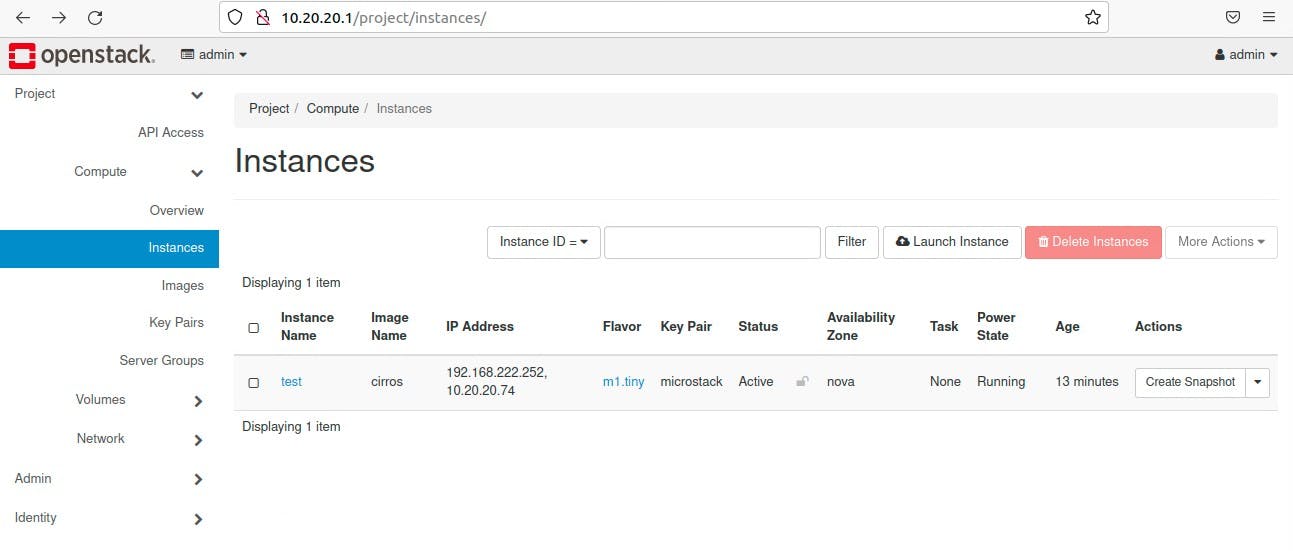
Let's take a closer look at that instance. It is indeed my 'test' instance. We can see the flavor type 'm1.tiny', the image name 'cirros,' the age of my instance, equal to 13 minutes, and the availability zone in which it is deployed 'nova.'
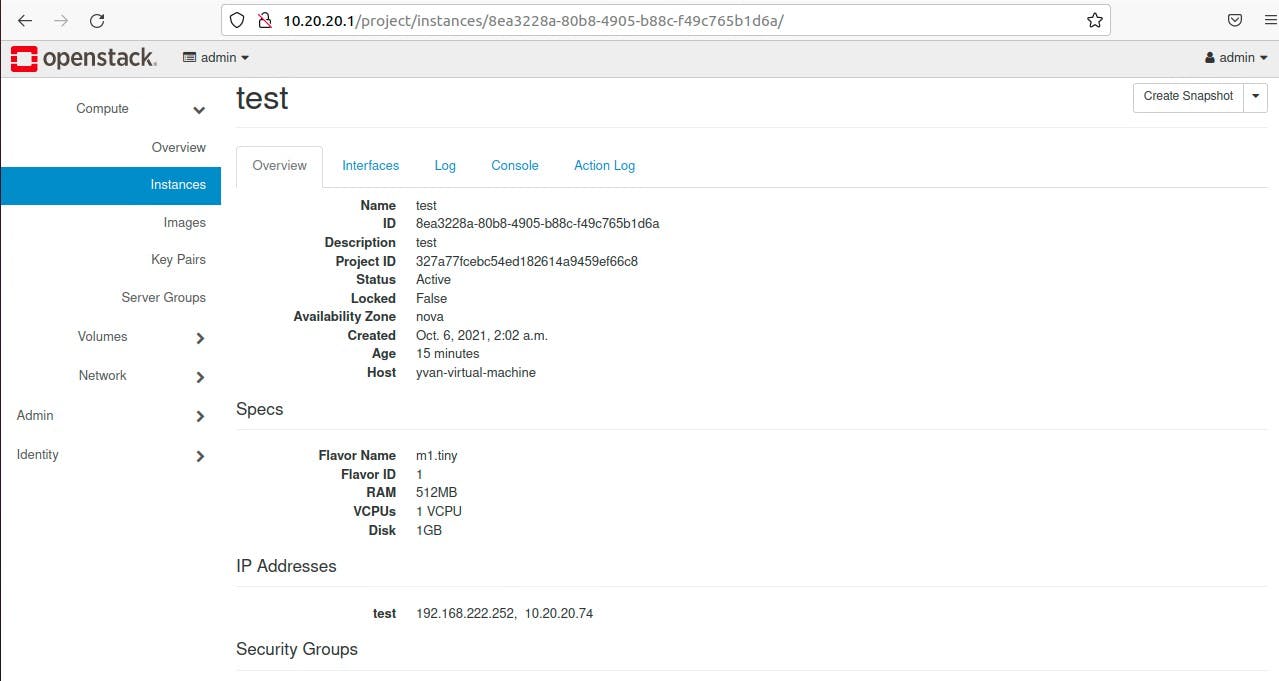
Here I can see the default security groups of my instance, which allow everything on port 22. I also have the metadata of my instance, which are its Key Name, Image Name, and Image ID. My instance does not have any volume attach to it.
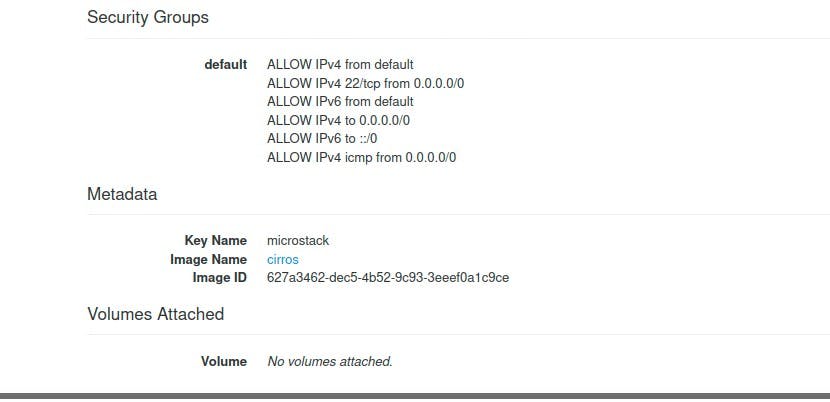
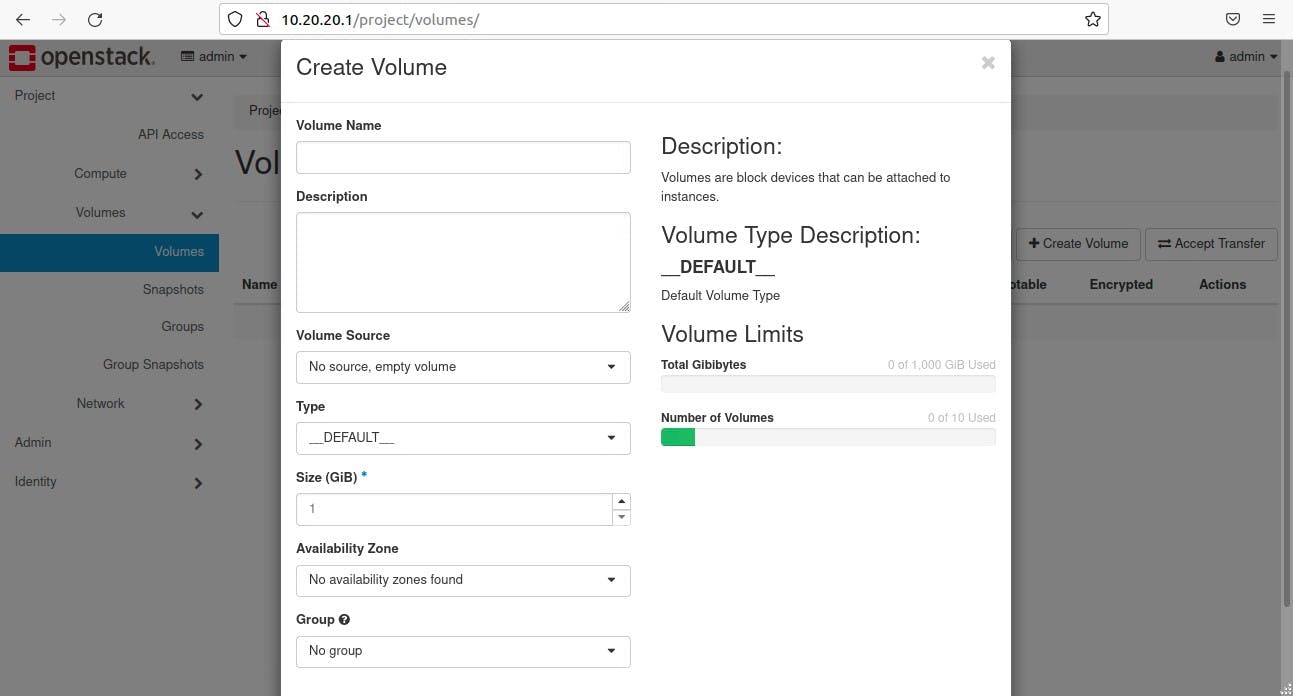
I can create a volume here and attach it to my 'test' instance. This volume is of type 'Block Storage.'
A Block Storage takes your data and breaks it down into blocks, and store those blocks as separate pieces, each with a unique identifier. It is good to use block storage for objects that change frequently. Block storage can be placed anywhere, and this is what makes it unique. It decouples the hardware of the user environment.
Our private cloud is up and running, and we can deploy more stuff in it and even build a VPC. We can also pair it to any cloud provider for failover, for example.
Thank you for your time, and I hope you enjoy building a Private Cloud with me. Please feel free to drop any comments below.
Yvan, The Architect.
